The importance of lighting management in a photo shoot

In photography, light and lighting are the most important considerations. Did you know that the word “photography” comes from two Greek words? “Phos” means light and “Graphis” means design. We can logically translate photography into the art of painting with light. There is a saying that the camera never lies. In fact, cameras rarely tell the whole truth. However, there are several techniques that can help you get attractive pictures.
How does position play a role?
Front lighting for your photo shoot
This type of lighting is considered the least dramatic. Place the subject so that the light is directly in front of the person or object to reveal detail. Front lighting illuminates objects face to face. Put the light directly in front, the shadow falls behind the object, so there is no shadow in the image to hide details. Front lighting is the easiest to photograph, but sometimes it looks flat or boring. Because of its flat appearance, it is usually the most flattering. Front lighting can provide more predictable results by directly illuminating the entire subject. The limited presence of shadows will reduce the drama and predictability of the image. However, the flat appearance can make images look boring. Therefore, extreme care must be taken when using flash, as it can cause inconsistent artificial lighting.
Side lighting for your photo shoot
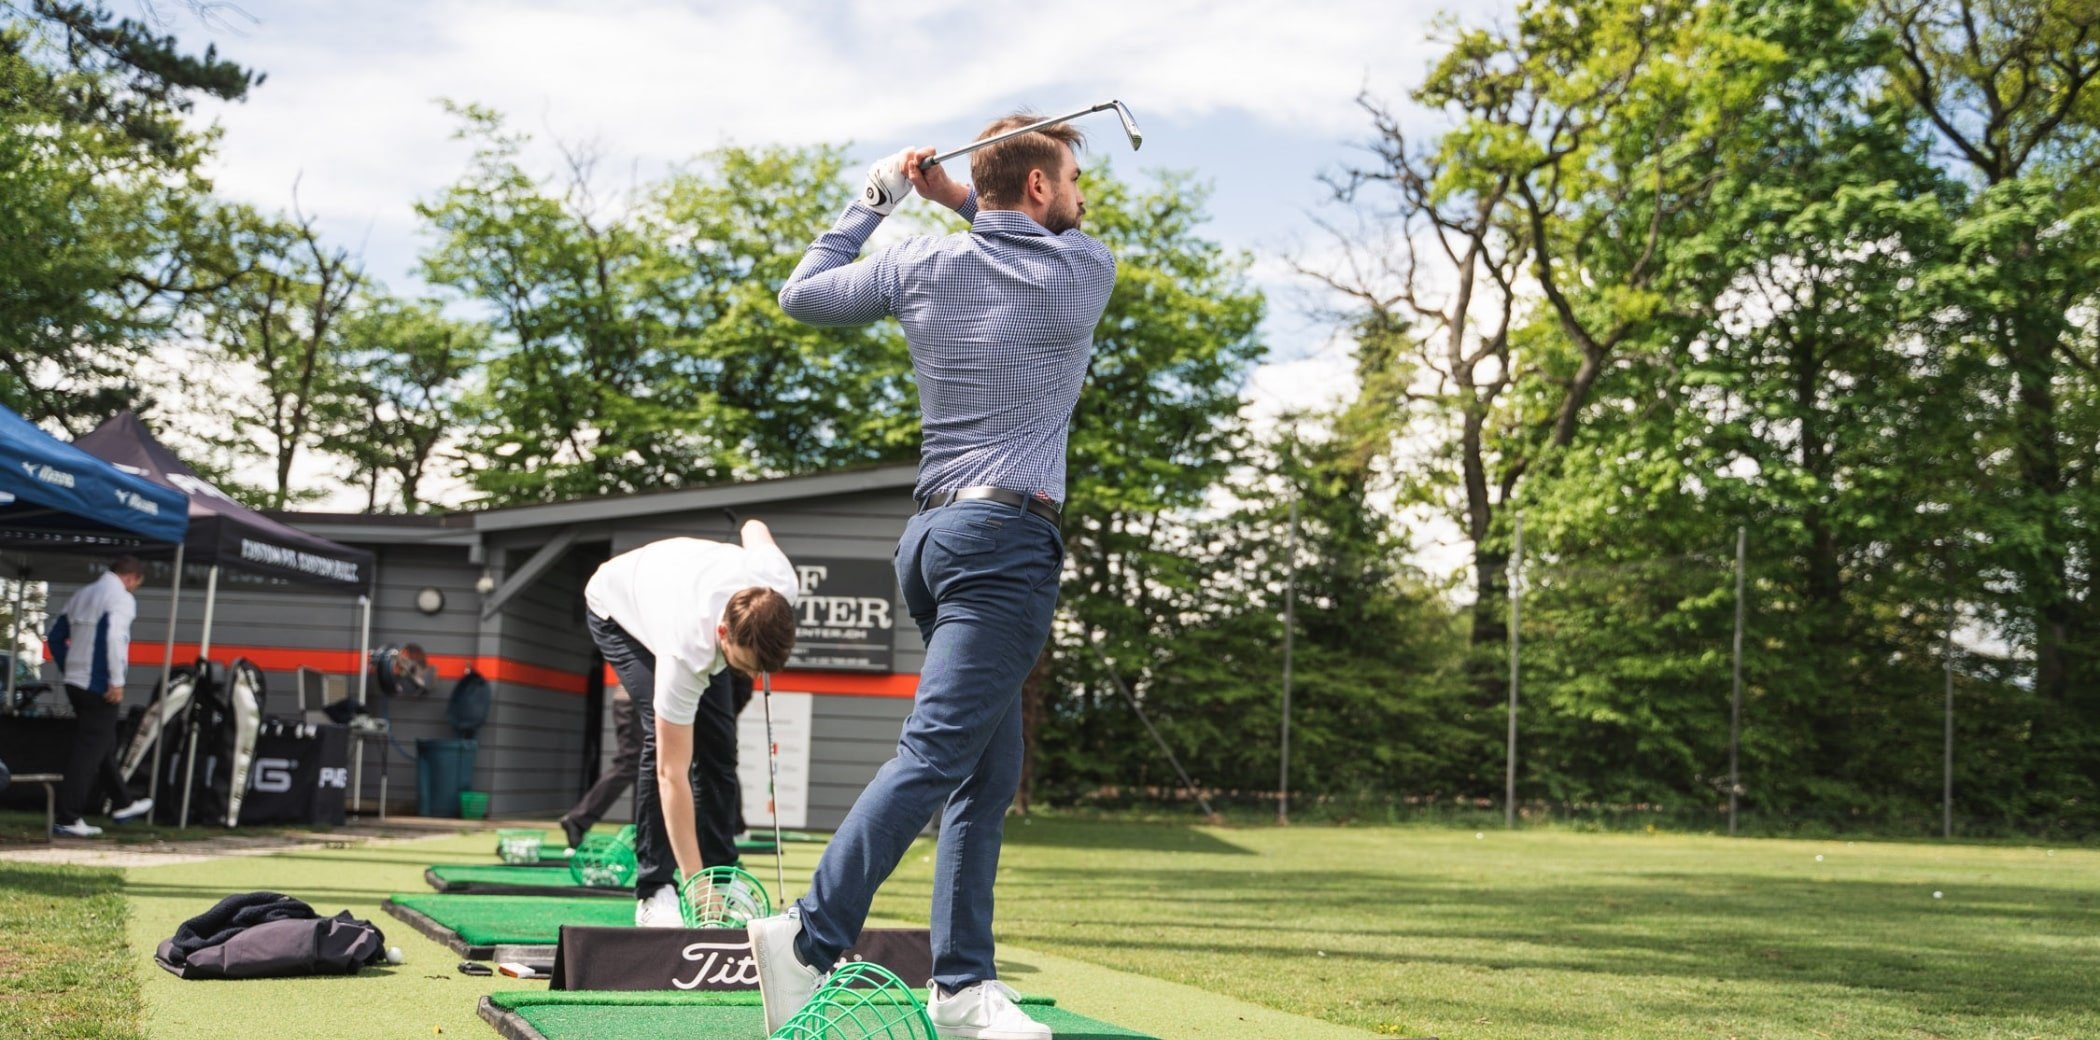
Side lighting takes you to the creative side of photography. It’s ideal for accentuating texture, defining depth and displaying patterns. When you illuminate an object, its texture appears. Side lighting is most effective for portraits, as it can help you bring out the emotion and depth of the subject more vividly. Finally, you regularly find yourself using side lighting for portraits and beautiful artwork. The depth becomes a greater force in the image and the texture comes alive. You may need to use a reflector or a less powerful light to reduce contrast.
Backlighting for your photo shoot
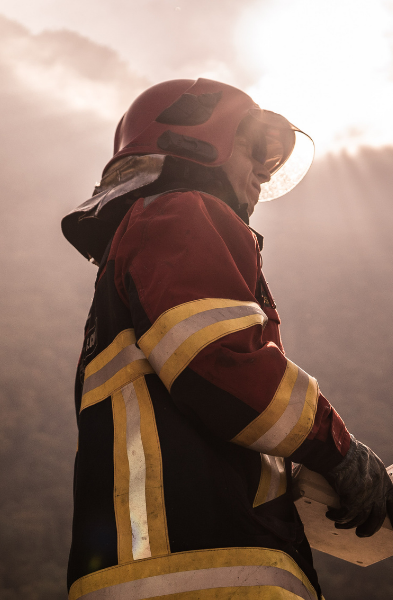
Backlighting is one of the most popular lighting options for creating drama. Backlighting occurs when the sun or another light source emanates from behind your subject, which means you are shooting in the light. Probably the trickiest to use, but worth the results when done correctly. Like side lighting, backlit images also have contrasting depth. You’ll want to play with the light behind your subject. For example, if the sun is directly behind your subject, it will be that much darker. Silhouettes are always a big hit with photo enthusiasts. Backlighting creates an interesting contrast of warm light on a dark subject. Thus the image becomes a silhouette rather than facial expressions. One way to start thinking about light is to pay attention to it in everyday activities.
Contrast and shadow
The hardness of shadows
The hardness or softness of the shadows depends mainly on the light source. If the light source is very large, the shadows will be rather soft, because the light rays illuminate the subject from different angles. Whereas if the size of the source is small (or if the source is very far away from the subject), the shadows will be rather hard, because the rays of light illuminate the subject from one main angle. To soften the shadows, you can place a diffuser in front of your light source. By placing a sheet of tracing paper in front of your flash, for example, the light from the light source, as it passes through the sheet, will be diffused, causing softer shadows, as the light rays will be spread in different directions. Note that the larger the diffuser, the softer the shadows. Also, the distance of the reflector from the light source, plays on the shadows.
The density of shadows for your photo shoot
The density of the shadows depends on the amount of light reflected from the surface of the subject. To take a simple example, if you photograph an object on a white table, the shadows will be deep (large difference in brightness between the shadow created by the object and the illuminated white surface); if you photograph an object on a black table, the shadows will be relatively shallow (little difference between the black of the shadow and the black of the surface).
To decrease the density of the shadows, you can use a reflector. For example, if you are photographing a person with a main light source to the left, the right side will be more or less in shadow. By placing a reflector to the right of the subject (e.g. a white Styrofoam plate), the light from the main light source (on the left) will “bounce” off the reflector (on the right), indirectly illuminating the other side of the face a bit and therefore decreasing the shadow density and contrast.
