The different facets of light management in a photo shoot

Did you know that the word “photography” comes from two Greek words. “Phos” means light and “Graphis” means design. Therefore, we can logically translate photography into the art of painting with light. Photography involves the capture and recording of light. As a photographer, you can control the amount of light, intensity and duration that are needed to create an image. There is a saying that the camera never lies. However, cameras rarely tell the whole truth. However, there are several techniques that can help you get great pictures.
The Kelvin scale
A light bulb may look white to our eyes, but light is made of different colors. The sun at dusk creates an orange light. A fluorescent bulb will create a different color of light than an incandescent bulb.
A camera’s white balance corrects the image so that white objects appear white in the picture under different light sources. Most cameras have an automatic white balance mode, as well as options named after different types of light sources, such as shadow and incandescent. Manual white balance allows you to take a picture of a white object, then the camera will determine the white balance from that image. When using manual white balance, it is possible to accurately choose the color temperature.
Accurate white balance means that objects that are white in real life are also white in the image. Using the Kelvin scale allows us to match our image to reality, or, conversely, to modify it to give a desired mood. In addition to using white balance to create a balanced image or a warm or cool image, photographers can also get creative with the source of their light using flash gelatins. These layers adapt to the flash and create colorful lights like the lights on a dance floor. Since color helps create a mood in a photograph, using gelatins can be a fun way to experiment with light color.
Soft light versus strong light
A strong light source produces shadows with minimal transition between the light and dark areas of the image. While strong light refers to the transition between light and dark and not the depth of the shadows, strong light is often associated with creating deeper, darker shadows. But, harsh light tends to create more contrast in an image. Hard light can be combined with the position of the light to avoid dark eyes and create drama within a portrait.
Soft light, on the other hand, has a much more subtle transition between the light and dark areas of the image. Shooting with soft light is less dramatic, but the softer shadows prevent the loss of detail in the dark areas of the image. When shooting a portrait, bright light tends to accentuate skin imperfections while soft light tends to mask imperfections a bit better.
So what makes a light source hard or soft? Large light sources produce soft light, while smaller light sources create those harsh shadows. Just imagine holding a flashlight under your face to tell scary stories around the campfire, the goosebumps come from the light and dark areas with no transition between them. Camera flashes, without modifiers, create intense light because they are small light sources.

Natural light vs. supplemental light
Natural light
In simple terms, daylighting is sunlight. In daylighting photography, the sun acts as the primary source of light. You can manipulate the natural light, for example by bouncing it off reflectors, but you can’t fundamentally change it, as you would with studio lighting.
Daylighting doesn’t just happen outside. Think of early morning dawn light spilling through a window or a soft orange glow enveloping a room before dusk. In these cases, natural light is known as ambient light.
Supplemental light
Fill light is usually a very controlled light source that highlights specific areas of the subject. It can be a light that separates you from a background or a side light that illuminates the sweat drops on an athlete after an intense workout. Fill light gives shape to the elements of the photo allowing your eyes to feel the different dimensions of the image.
Easy ways to control fill light are modifiers such as barn doors for example. Basically anything that will reduce and direct the beam of light coming from the light source. This can be a flashlight beam, the sun shining on the back of a subject’s head, or even the bright screen of a tablet or computer.
The magic hours
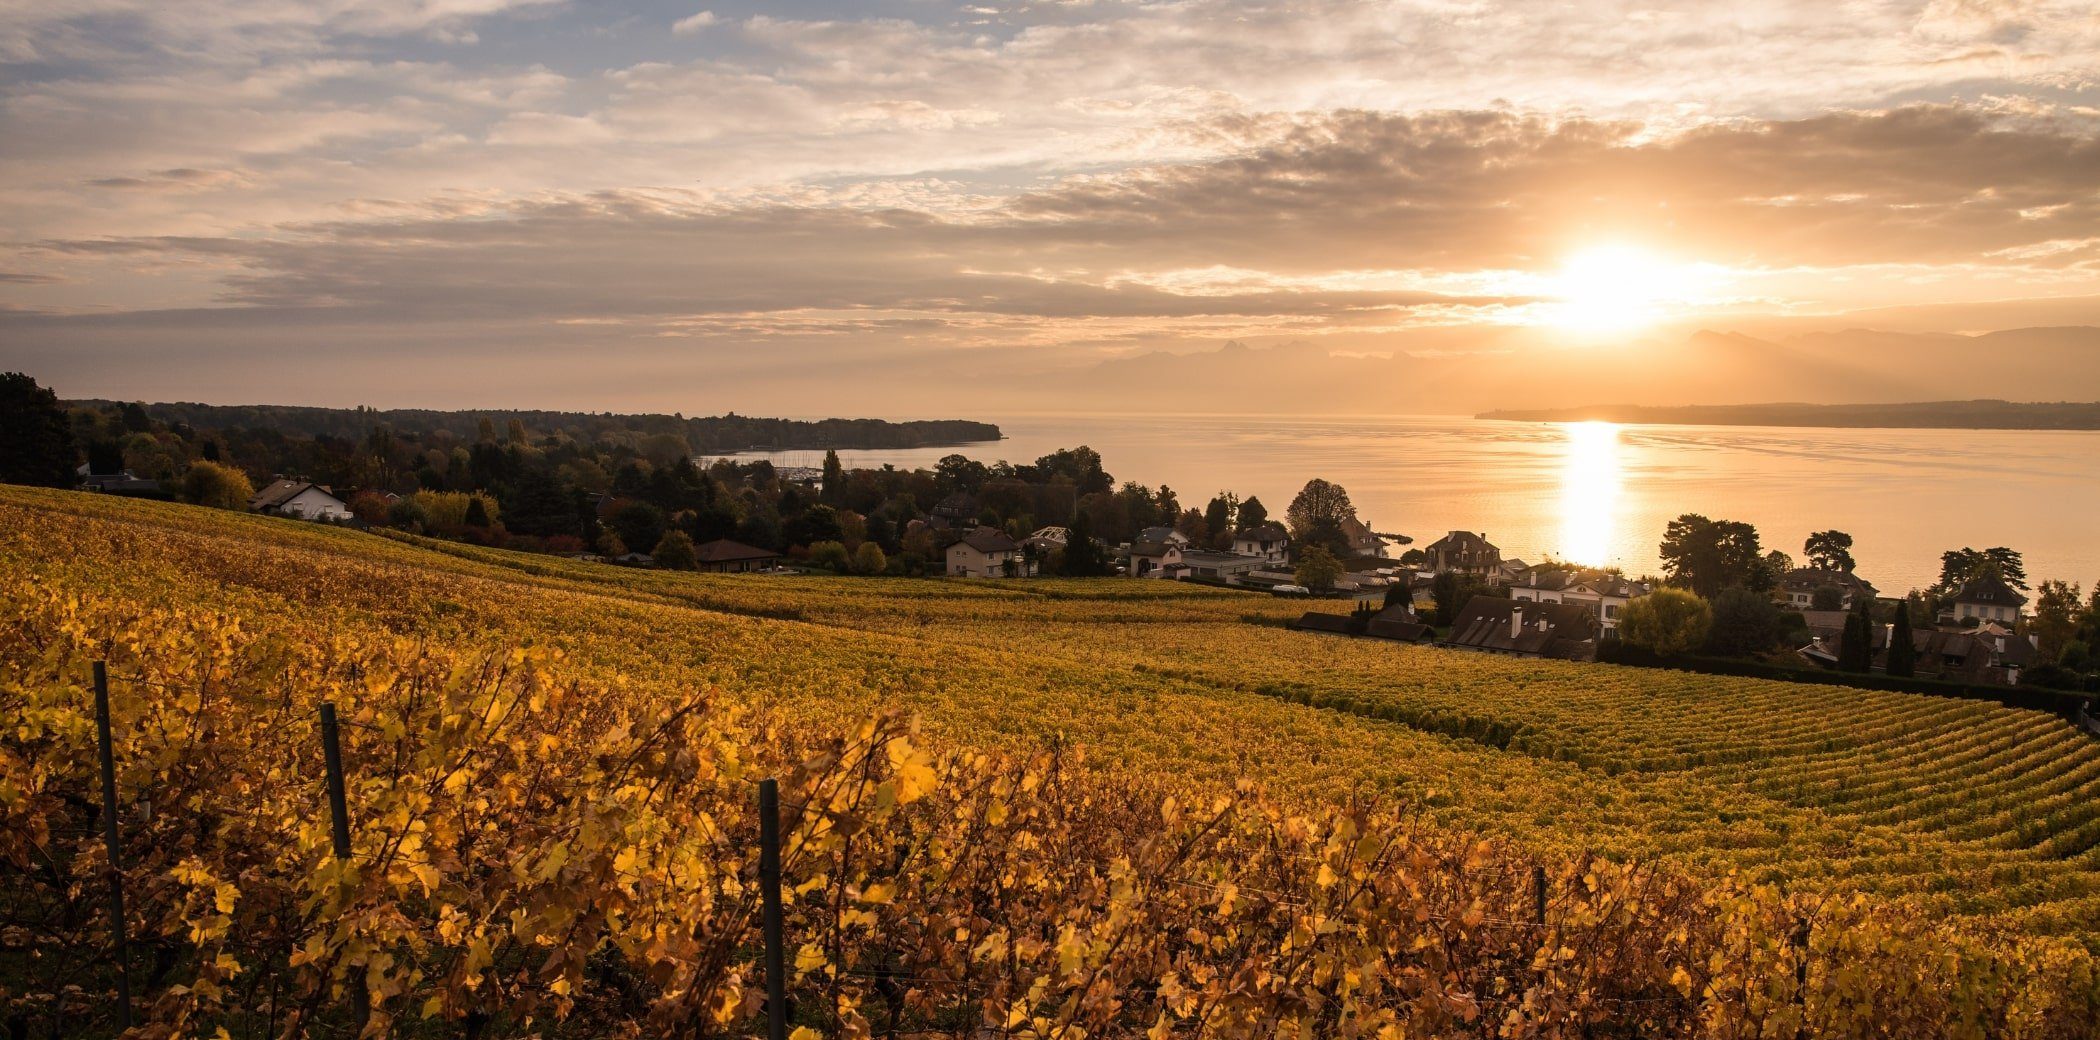
The golden hour
The first hour of light just after dawn and the last hour of light before sunset is known as the Golden Hour. Golden Hour begins 30 to 60 minutes before sunset and ends a little after the sun sets below the horizon. This Golden Hour window in the morning and evening, when the sun is at a low angle, offers a magical quality of light that makes photos pop. Because the sun is at a low angle during the golden hour, the sunlight passes through more of the atmosphere, softening and reducing the intensity of direct light. This makes it easier to work as a photographer because the diffuse golden light produces less contrast and evenly exposed photographs.
The blue hour
The blue hour occurs just after sunset, the sky takes on a cool, crisp blue color before it gets too dark or what we call night. The sun is no longer in the sky so nothing casts a shadow. The resulting photographs are soft and characterized by cool blue tones. But even though it’s called the blue hour, it doesn’t actually last an hour. In fact, on average, it lasts about 20 to 40 minutes, but can be even shorter. The exact length of the blue hour on any given day varies depending on the season and where you are in the world.
Night hours
During the night, you use the light of the moon and stars. It is much less intense than sunlight, so you need very long exposures and a very stable camera. Photographers who shoot cityscapes use the artificial lights present in the scene. Other photographers use external light to illuminate objects in the frame that are otherwise dark (called light painting).